Project Setup: Initializing the REST API for Task Management
Learn how to initialize your project workspace and build the first route for your Task Manager API. Start your journey from design to working code today.
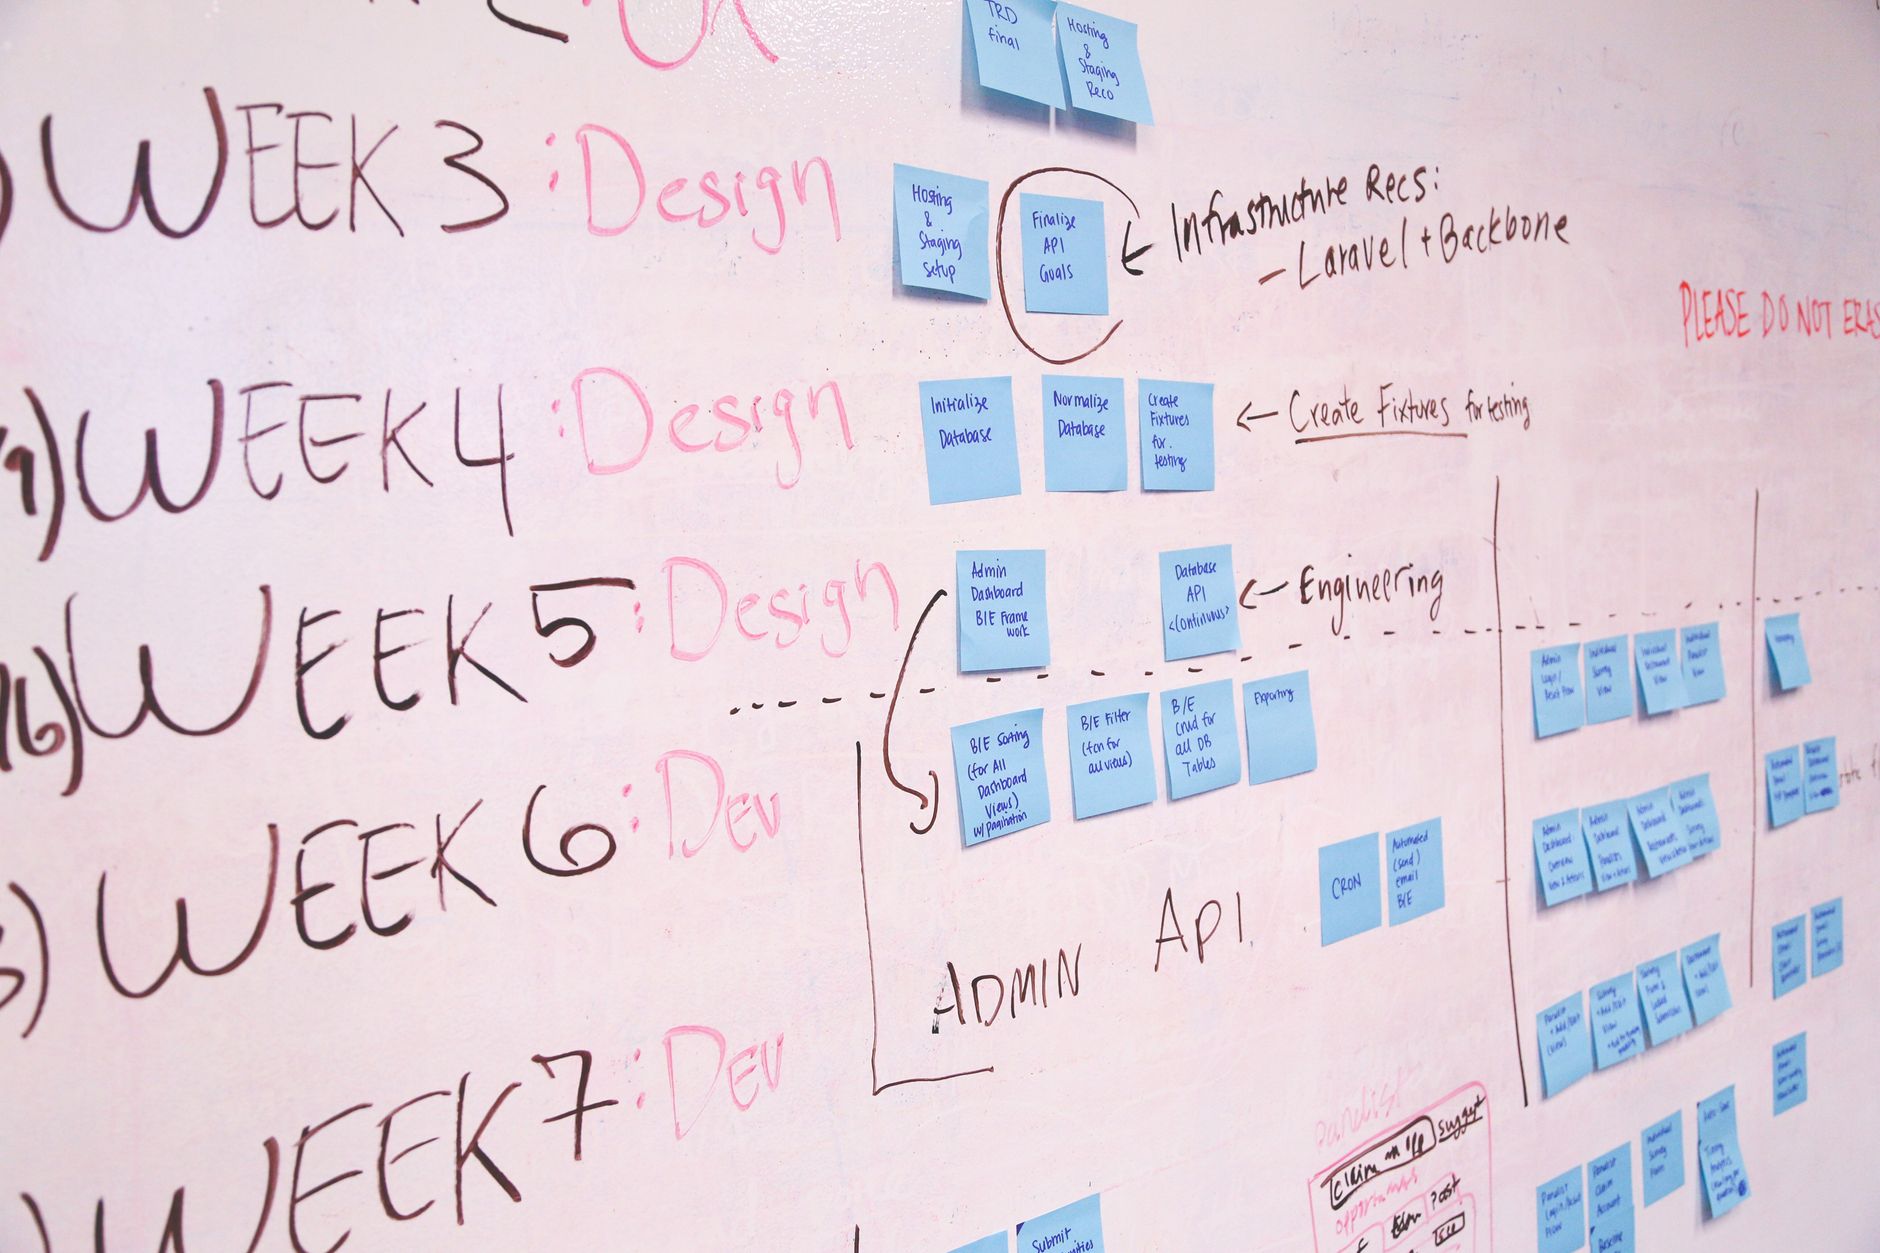
Previously in this course, we explored the theoretical foundations of identifying resources and defining our data schema. Now that we have a clear blueprint, it's time to move from the whiteboard to the terminal.
In this lesson, we will perform the necessary Project Setup to initialize our workspace and write the code for our first functional endpoint. We’ll be using Node.js with Express, the industry-standard "boilerplate" for building lightweight, scalable REST APIs.
The Foundation: Initializing the Project Workspace
Before we write a single line of business logic, we need a standard environment. A clean project structure ensures that as our API grows, our code remains maintainable and predictable. We’ll follow the principles established when we designed our URI hierarchy to keep our files organized.
- Initialize the folder: Create a directory for your project and run
npm init -yto generate apackage.jsonfile. - Install dependencies: We need
expressto handle our HTTP routing.Bashmkdir task-manager-api cd task-manager-api npm init -y npm install express
Creating the First Route: Retrieving All Tasks
Now that we have our environment, let’s implement our first endpoint. Based on our earlier work with HTTP methods, we know that retrieving a collection of resources requires a GET request.
Create a file named app.js and add the following code:
JAVASCRIPTconst express = require(CE9178">'express');
const app = express();
const PORT = 3000;

// Mock data representing our Task resource
const tasks = [
  { id: 1, title: CE9178">'Finish API design', status: CE9178">'pending' },
  { id: 2, title: CE9178">'Initialize project', status: CE9178">'completed' }
];

// GET /tasks - The entry point for our collection
app.get(CE9178">'/tasks', (req, res) => {
  res.status(200).json(tasks);
});

app.listen(PORT, () => {
  console.log(CE9178">`Server running at http://localhost:${PORT}`);
});
When you run node app.js and navigate to http://localhost:3000/tasks, your browser (or API client) will receive a list of tasks. You have just successfully implemented your first RESTful route.
Hands-on Exercise
To solidify this setup, perform the following task:
- Add a second route to your
app.jsfile that responds toGET /health. - The endpoint should return a simple object:
{ "status": "up" }. - Use your browser to verify that hitting
/healthreturns the correct JSON response.
Common Pitfalls in Project Initialization
- Hardcoding configurations: Avoid hardcoding ports or database strings directly in your route files. Use environment variables (via a
.envfile) as early as possible. - Neglecting the
package.json: Beginners often forget to add their dependencies to thepackage.jsonfile. Always use the--saveflag (or justnpm install <package>) to track your project's requirements. - Mixing concerns: Even in a small project, try to keep your routing logic separate from your data retrieval logic. While we put everything in
app.jstoday for simplicity, we will modularize this in future lessons.
FAQ
Why use Express for this API? Express is minimalist and unopinionated. It provides the perfect framework to learn how RESTful routes actually map to HTTP methods without hiding too much "magic" behind the scenes.
Do I need a database right now?
No. We are currently focusing on the interface. Using mock data (like the tasks array above) allows us to perfect our endpoint design before introducing the complexity of a persistent database.
Recap
We've successfully initialized our project, established a consistent structure, and created our first GET route to retrieve our task collection. By following the standard HTTP success codes, we’ve ensured our API speaks the language of the web from day one.
Up next: JSON as the Standard Exchange Format — we’ll learn how to properly format our data for maximum compatibility across different clients.
Work with me

Laravel REST API Development
Clean, secure, well-documented Laravel REST APIs — the backend engine for your app, mobile client, or SaaS. Built by an API specialist.

Headless WordPress + Next.js Frontend Development
Keep WordPress for content, get a lightning-fast Next.js frontend. The best of both worlds — familiar editing, modern speed.