Understanding BuildKit: A Guide to Faster Docker Builds
Learn how to use BuildKit to optimize your container image creation. Discover advanced features like parallel builds, cache mounts, and improved performance.
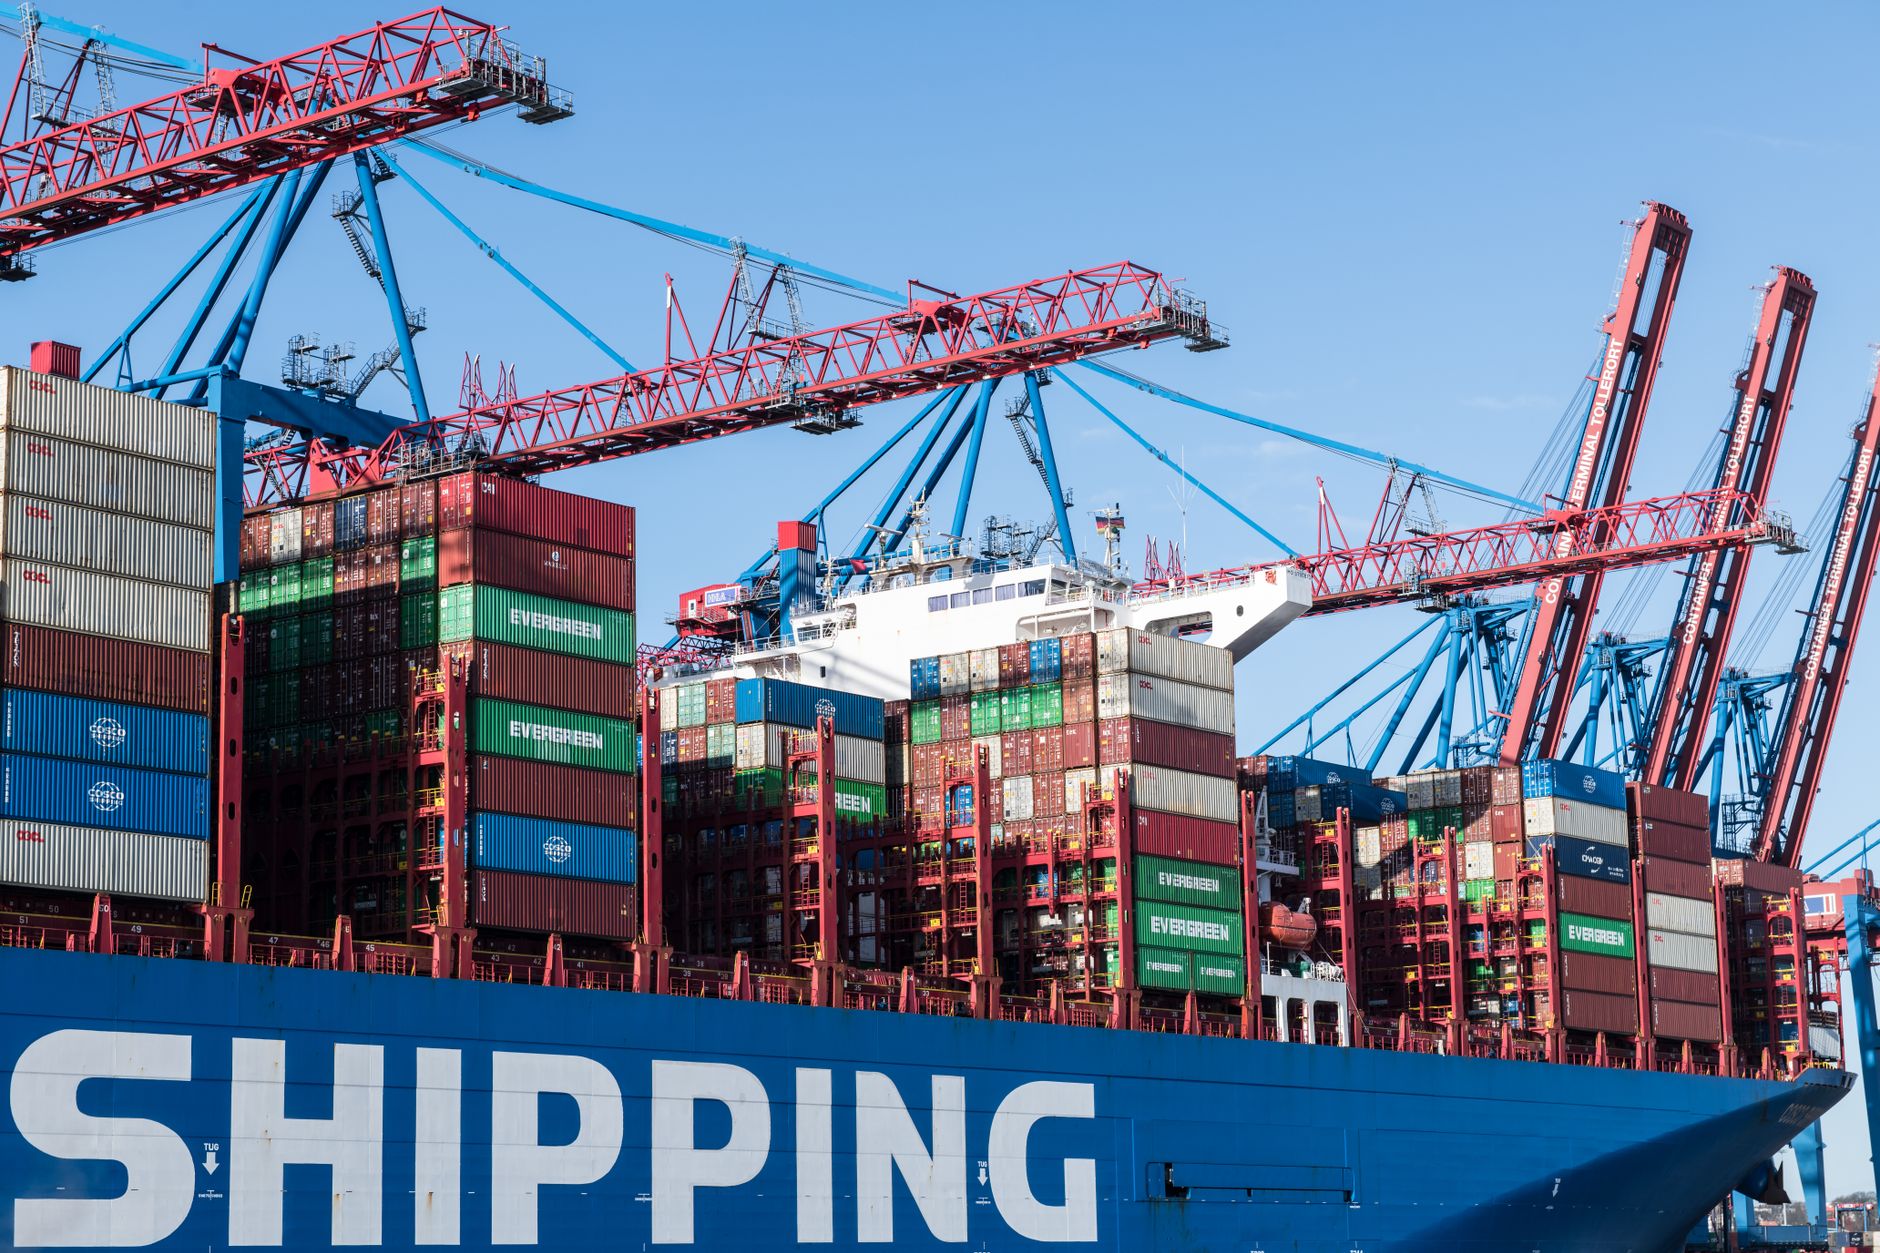
Previously in this course, we explored Automating Image Builds with CI/CD to streamline our deployment pipeline. While that lesson focused on the where and when of building, this lesson focuses on the how—specifically, how to use BuildKit to make that process faster, more secure, and feature-rich.
What is BuildKit?
BuildKit is the next-generation backend for the docker build command. While the legacy Docker builder processed instructions linearly, BuildKit was designed from the ground up to handle complex dependency graphs, parallel execution, and advanced storage backends.
Think of the legacy builder as an assembly line where every step must finish before the next begins. BuildKit, by contrast, is like a modern factory floor where independent tasks are executed in parallel, and intermediate results are cached intelligently.
Why You Should Enable BuildKit
In modern Docker versions, BuildKit is usually the default. However, it is vital to understand why it matters for your project's performance.
| Feature | Legacy Builder | BuildKit |
|---|---|---|
| Parallelism | Serial (One by one) | Automatic (Parallel execution) |
| Caching | Basic layer-based | Advanced (Cache mounts, exporters) |
| Output | Local images only | Multi-platform, tar, registry |
| Security | Standard | Secrets/SSH support |
If you ever find yourself waiting minutes for a simple image rebuild, you are likely missing out on the optimizations that BuildKit provides.
Enabling and Verifying BuildKit
To ensure BuildKit is active, you can check your Docker environment. On most modern installations (Docker Desktop 23.0+), it is enabled by default. You can force it for a specific command by setting an environment variable:
Bash# Verify it's on (or force it)
DOCKER_BUILDKIT=1 docker build -t my-app:latest .
If you are using docker buildx (the CLI plugin for BuildKit), you are already leveraging its power, as buildx is the primary interface for BuildKit-specific features.
Using Advanced Build Features
One of the most powerful features of BuildKit is Cache Mounts. Often, during a build, you install dependencies (like npm install or pip install). Without caching, these are re-downloaded every time you change a line of code.
Here is how you can use a cache mount in your Dockerfile to persist the download directory:
Dockerfile# syntax=docker/dockerfile:1
FROM node:18-alpine
WORKDIR /app
COPY package.json .
# The cache mount persists the npm cache between builds
RUN --mount=type=cache,target=/root/.npm \
    npm install
COPY . .
CMD ["node", "index.js"]
By adding --mount=type=cache, you tell BuildKit to keep the contents of /root/.npm across different build executions. If you need a deeper dive into resolving issues with this, check out Debugging Docker BuildKit Cache Mounts for Faster Builds.
Improving Build Performance
To maximize performance, follow these principles:
- Parallel Execution: BuildKit executes independent stages in parallel. Keep your
Dockerfileorganized into distinct stages to take advantage of this. - Avoid Context Bloat: BuildKit has to send your build context to the daemon. Keep your
.dockerignorefile strict to avoid sending unnecessary files—see Mastering Docker Build Context: Efficiency and Security Tips for how to do this correctly. - Use BuildKit Secrets: Instead of using
ENVfor passwords (which persists in the image history), use--secret. This keeps sensitive data out of your image layers.
Hands-on Exercise
- Create a simple
Dockerfilefor your project using annpm installstep. - Build the image normally and time it using the
timecommand:time docker build -t test . - Modify the
RUNinstruction to include the--mount=type=cacheflag as shown above. - Run the build again and compare the time. You should see a significant decrease in the second run.
Common Pitfalls
- Forgetting the Syntax Directive: BuildKit features require the
# syntax=docker/dockerfile:1line at the very top of yourDockerfile. Without it, you are using the legacy parser. - Assuming Everything is Cached: BuildKit caches layers based on the content of the instructions. If you
COPY . .too early in yourDockerfile, you invalidate the cache for all subsequent steps. - Ignoring Buildkit logs: If a build is slow, look at the output. BuildKit provides much more verbose logs than the legacy builder, which helps identify which stage is taking the longest.
FAQ
Is BuildKit the same as Buildx?
BuildKit is the backend engine; docker buildx is the CLI tool that lets you interact with that engine to perform advanced tasks like multi-platform builds.
Does BuildKit use more disk space?
It can, because it stores cache mounts and intermediate build states. Use docker builder prune to clear out unused build cache.
Can I use BuildKit for CI/CD? Yes, it is highly recommended. Most cloud CI providers support BuildKit natively, allowing you to mount caches from remote storage.
Recap
BuildKit transforms the Docker build process from a slow, linear task into an optimized, parallelized workflow. By enabling it, using cache mounts, and keeping your context clean, you can slash your build times and improve security.
Up next: We will discuss how to manage Container Resource Constraints to ensure your services run reliably under load.
Work with me

CI/CD Pipeline & Docker Containerization
Ship with confidence: automated CI/CD pipelines and Docker setups so every push is tested and deployed — no more manual, error-prone releases.
Laravel Bug Fixes, Maintenance & Optimization
Stuck on a Laravel bug or a slow app? Fast, reliable fixes, upgrades, and performance tuning from an experienced Laravel engineer.