Automating the Test Suite: CLI Workflows for QA Productivity
Stop running tests one by one. Learn how to configure test automation scripts and use the CLI to run full test suites, boosting your QA productivity.

Previously in this course, we explored First Steps into Unit Testing and learned the nuances of Asserting Expected Outcomes. While writing individual tests is essential, manually triggering them as your codebase grows is a recipe for developer fatigue.
This lesson adds the "automation" to your workflow. We will move from running single files to executing full test suites through the command line (CLI), ensuring your feedback loop is consistent, fast, and reliable.
Why CLI-Driven Test Automation Matters
As your project grows, you aren't just testing one function; you're verifying a system. Clicking "Run" in an IDE is fine for a single file, but when you have fifty test files, you need a repeatable process.
Test automation via the CLI is the foundation of VS Code Task Runner: Automate CI/CD Workflows Like a Pro. It allows you to:
- Remove Human Error: You ensure every test is executed against the exact same environment.
- Enable Speed: Modern test runners can execute tests in parallel, slashing wait times.
- Integrate with Tooling: Once your tests run in the terminal, they are ready to be plugged into CI/CD pipelines.
Configuring Your Test Script
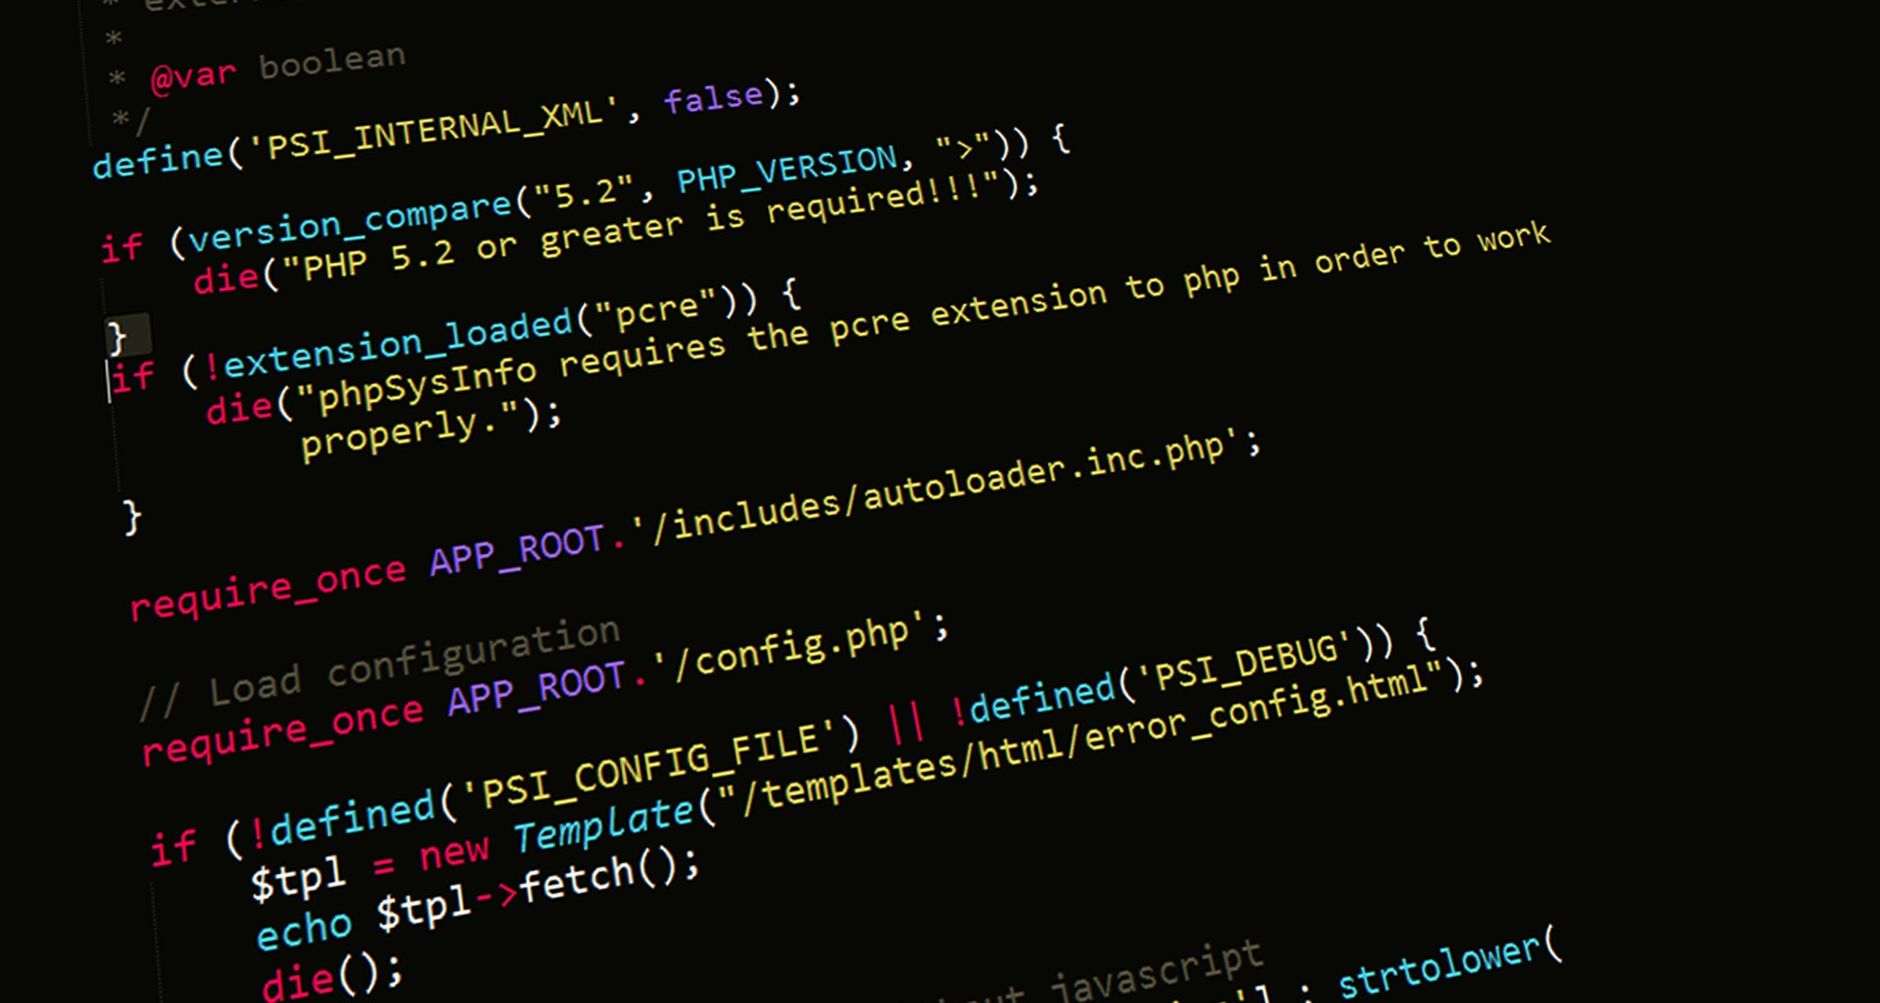
Most testing frameworks (like Jest, PyTest, or Mocha) look for a configuration file in your project root. If you don't have one yet, it's time to create it. This file tells the test runner where to find your files and how to handle them.
For a Node.js project using Jest, you typically have a package.json file. Instead of typing node_modules/.bin/jest, we define a script in the scripts object:
JSON{
  "scripts": {
    "test": "jest",
    "test:watch": "jest --watch",
    "test:coverage": "jest --coverage"
  }
}
By aliasing jest to npm test, you create a standard entry point for any developer (or server) working on your code.
Running the Full Suite
Once your script is configured, you execute the full suite by opening your terminal in the project root and running the command:
npm test
The test runner will crawl your directory structure, identify any file ending in .test.js or .spec.js, and execute them.
Interpreting Automated Results
When the suite finishes, the CLI will output a report. Learning to read this is a critical skill for Professional Bug Reporting. You should look for three things:
- The Exit Code: If the command returns
0, the build is "Green" (passing). If it returns1or higher, the build is "Red" (failing). In CI environments, this exit code is what tells the system to stop the deployment. - The Failure Snapshot: Most CLI runners provide a "diff" showing exactly where the expected output differed from the actual result.
- Execution Time: If your suite suddenly jumps from 2 seconds to 20 seconds, you’ve likely introduced an inefficient dependency or a blocking operation.
Hands-on Exercise: Scripting Your Suite
- Define the Script: Open your
package.json(or your equivalent framework config) and add atestcommand that runs your entire test directory. - Execute: Run the command in your terminal.
- Break it: Deliberately change a return value in one of your project functions to force a failure.
- Observe: Run the CLI command again. Note the difference in the terminal output, the exit code (you can check this by running
echo $?immediately after the test command in Linux/macOS), and the clarity of the error message.
Common Pitfalls

- Hard-coding Paths: Avoid writing scripts that rely on absolute paths (e.g.,
/Users/name/project/tests). Always use relative paths or framework defaults so your tests work on your teammate's machine. - Ignoring the Exit Code: Simply seeing "FAILED" in the terminal isn't enough. Ensure your scripts actually propagate the error to the shell so that automated environments know the test failed.
- Environment Drift: Ensure your CLI environment matches your development environment. If your tests require a database, make sure your CLI command starts that container or connection before running the tests.
FAQ
Q: Why use the CLI instead of the IDE "Run" button? A: The IDE "Run" button is often proprietary or specific to your local configuration. The CLI is universal—it works on your laptop, a colleague's machine, and a headless server.
Q: What if the test suite takes too long to run? A: That’s a signal to look into The Testing Pyramid and ensure you aren't running heavy integration tests when fast unit tests would suffice.
Recap
Automating your test suite through the CLI is the first step toward professional-grade software development. By standardizing your execution commands and learning to interpret the output, you gain the confidence to refactor and push code knowing that your suite acts as a safety net.
Up next: We'll dive into Introduction to Mocking and Stubs to learn how to isolate your tests from external dependencies.
Work with me
AI Automation & Agentic Workflow Development
Automate the repetitive work eating your time — content pipelines, data workflows, and agentic AI tasks that run themselves.
Custom WordPress Plugin Development
Custom WordPress & WooCommerce plugins built to standard — by the developer behind a plugin with 5,000+ active installs and a SaaS with 10,000+ users.