Changing Styles via JS: Mastering CSS Manipulation and classList
Learn how to change CSS styles with JavaScript using the style property and classList. Master visual state updates for your to-do list dashboard.
Previously in this course, we covered modifying element content to update what users see on the screen. Now, we'll take that a step further by changing how those elements appear, allowing us to build a truly reactive user interface.
In modern web development, JavaScript acts as the engine that drives your CSS. While you define your base design in CSS files, you use JavaScript to toggle those visual states dynamically.
Modifying the style Property Directly
Every DOM element has a style property that gives you access to its inline CSS. This is the most direct way to change an element’s appearance. Think of this as writing directly into the style="..." attribute of an HTML tag.
When you modify the style property, remember that JavaScript uses camelCase instead of the kebab-case used in CSS. For example, background-color becomes backgroundColor.
JAVASCRIPTconst task = document.querySelector(CE9178">'.todo-item');

// Directly setting an inline style
task.style.backgroundColor = CE9178">'#f0f0f0';
task.style.borderLeft = CE9178">'5px solid #4a90e2';
task.style.padding = CE9178">'10px';
While powerful, setting individual properties this way can quickly become messy. If you find yourself setting five or more styles, it is usually a sign that you should use CSS classes instead.
Leveraging classList for Better CSS Manipulation
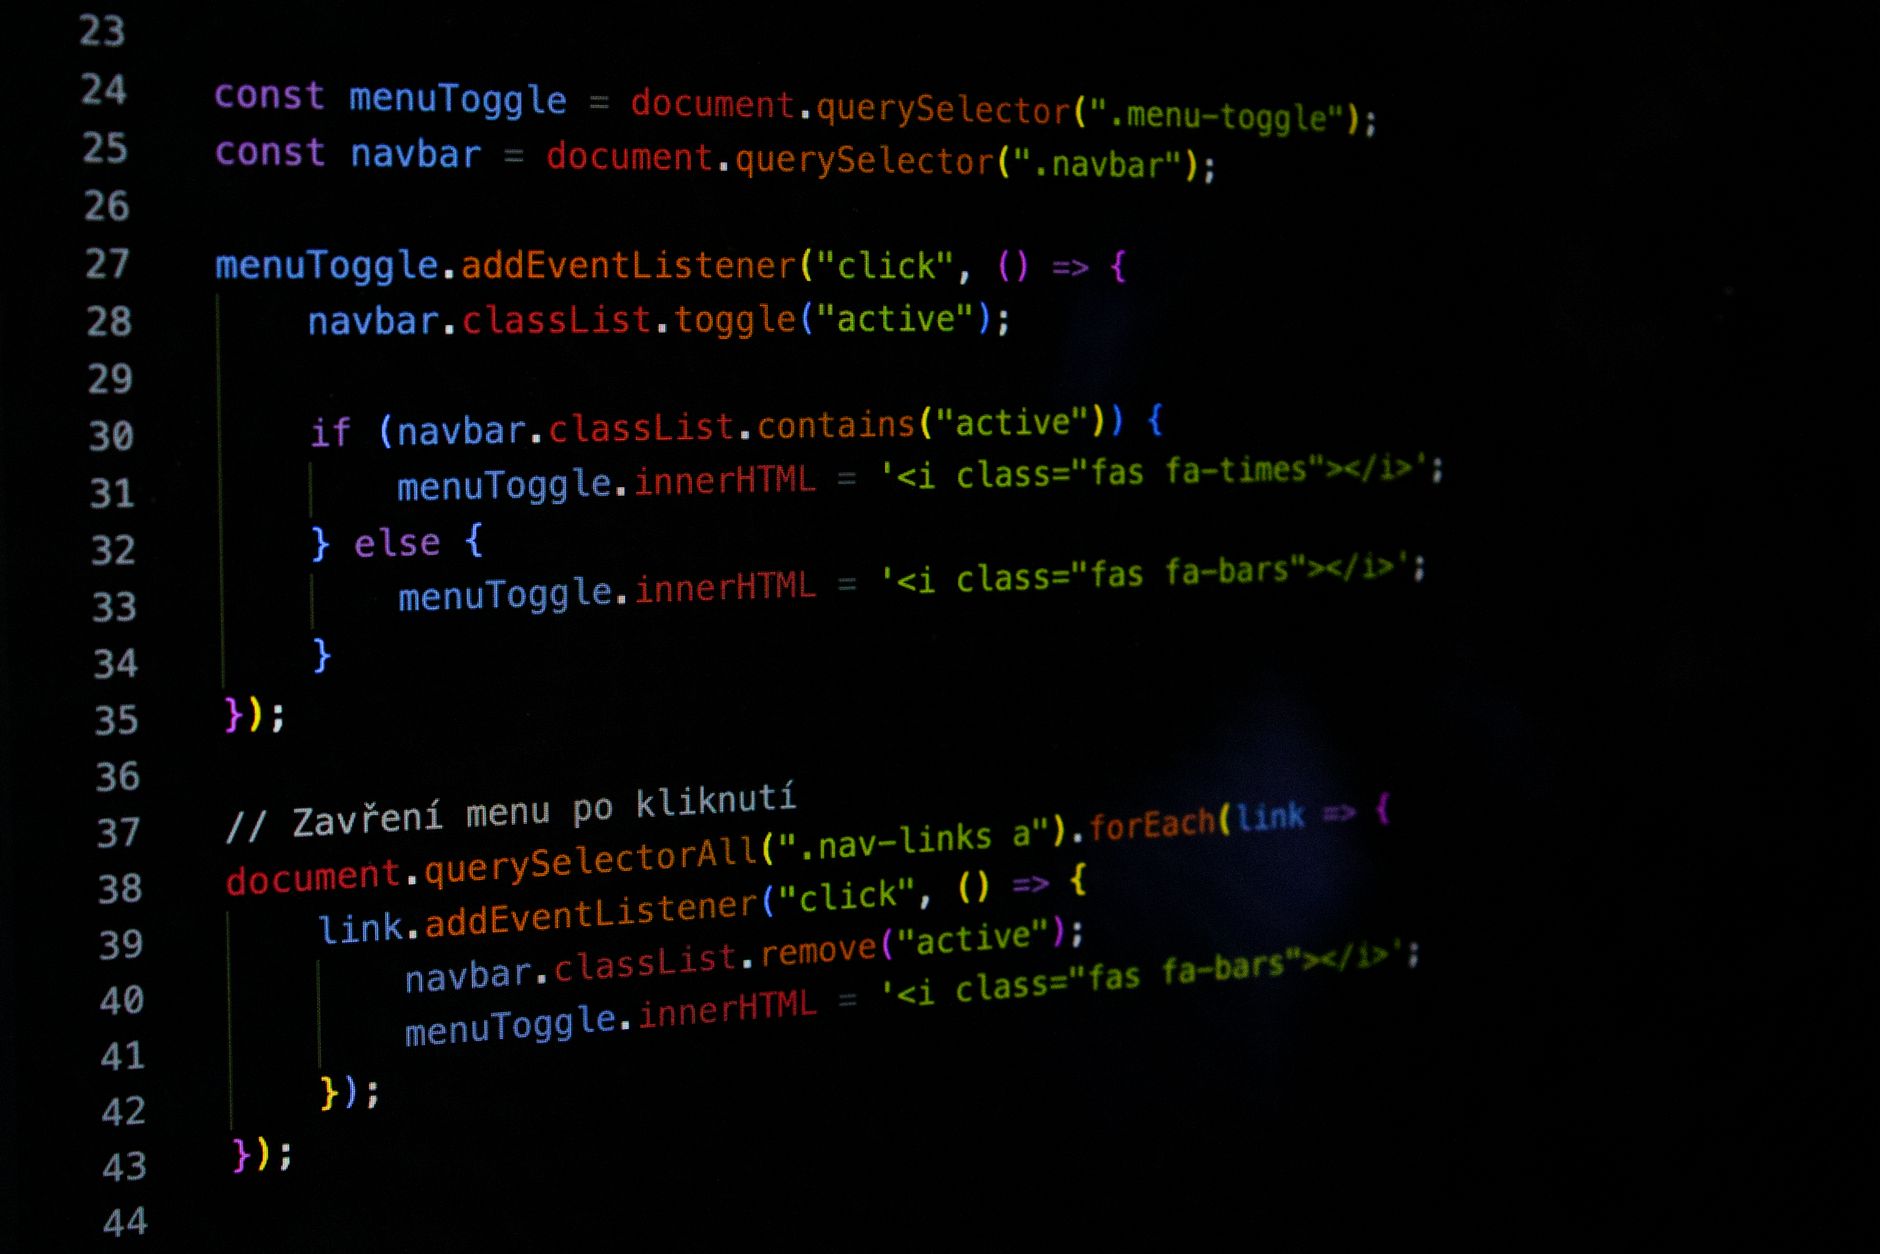
The classList API is your best friend when it comes to clean, maintainable code. Instead of manually updating dozens of properties, you define your visual states (like "completed" or "hidden") in your CSS file and simply toggle those classes via JavaScript.
Here are the most common methods for classList:
| Method | Description |
|---|---|
.add('name') | Adds a CSS class to the element. |
.remove('name') | Removes a specific CSS class. |
.toggle('name') | Adds the class if missing; removes it if present. |
.contains('name') | Returns true if the element has the class. |
Practical Example: The "Completed" Task
In our to-do dashboard, we want to strike through a task when it's finished. First, define the CSS:
CSS#9CDCFE">color:#6A9955">/* style.css */
color:#4EC9B0">.completed {
  #9CDCFE">text-decoration: line-through;
  #9CDCFE">color: gray;
  #9CDCFE">opacity: 0.7;
}
Then, use classList to apply this state:
JAVASCRIPTconst taskText = document.querySelector(CE9178">'#task-1');

// Mark as complete
taskText.classList.add(CE9178">'completed');

// If the user clicks again, toggle the state back
taskText.classList.toggle(CE9178">'completed');
Changing Element Visibility
Sometimes you need to hide or show elements based on user interaction, such as hiding a "No tasks remaining" message when the user adds their first to-do item.
You have three primary ways to control visibility:
display: none: Removes the element from the document flow (other elements will shift to fill the gap).visibility: hidden: Hides the element but keeps its reserved space on the page.opacity: 0: Makes the element invisible but keeps it interactive (it can still be clicked!).
In our project, we will use display to manage empty states:
JAVASCRIPTconst emptyMessage = document.querySelector(CE9178">'#empty-state');

// To hide it:
emptyMessage.style.display = CE9178">'none';

// To show it again:
emptyMessage.style.display = CE9178">'block';
Hands-on Exercise
Open your project's index file and locate your main task container.
- Create a CSS class called
.urgentthat sets the background color to a light red. - Select one of your task elements using
querySelector. - Use
classList.add('urgent')to highlight it. - Use
setTimeout(or just the console) to remove the class after 3 seconds usingclassList.remove('urgent').
Common Pitfalls
- Forgetting CamelCase: Using
task.style.font-size = '16px'will throw a syntax error. Always usefontSize. - Overwriting Styles: Assigning
element.style.cssTextwipes out all existing inline styles. Stick to individual properties orclassListto be safe. - Specificity Wars: If your
classListchanges aren't showing up, check your CSS file. You might have another rule with higher specificity (e.g., an ID selector) overriding your class. - Null Selectors: If you try to access
.styleon an element that doesn't exist (e.g., a typo in your query selector), JavaScript will throw an error and stop execution. Always ensure your element exists before modifying its styles.
Recap
You now know how to bridge the gap between static CSS and dynamic user interactions. By using the style property for simple, one-off changes and classList for managing complex UI states, you're ready to make your to-do dashboard feel like a real, reactive application.
Up next: Creating Elements Dynamically to build your list items directly from user input.
Work with me

Next.js Full-Stack Web App Development
A fast, SEO-ready full-stack web app built with Next.js 16 — from idea to deployed product, by an engineer who ships to production.

Next.js Website & Landing Page Development
A blazing-fast, SEO-optimized website or landing page in Next.js — the kind that loads instantly and ranks. Design-to-code, done right.