Displaying Weather Data: Dynamic DOM Injection and UI Updates
Learn how to inject weather data into your dashboard, handle loading states, and update the DOM dynamically to keep your users informed.
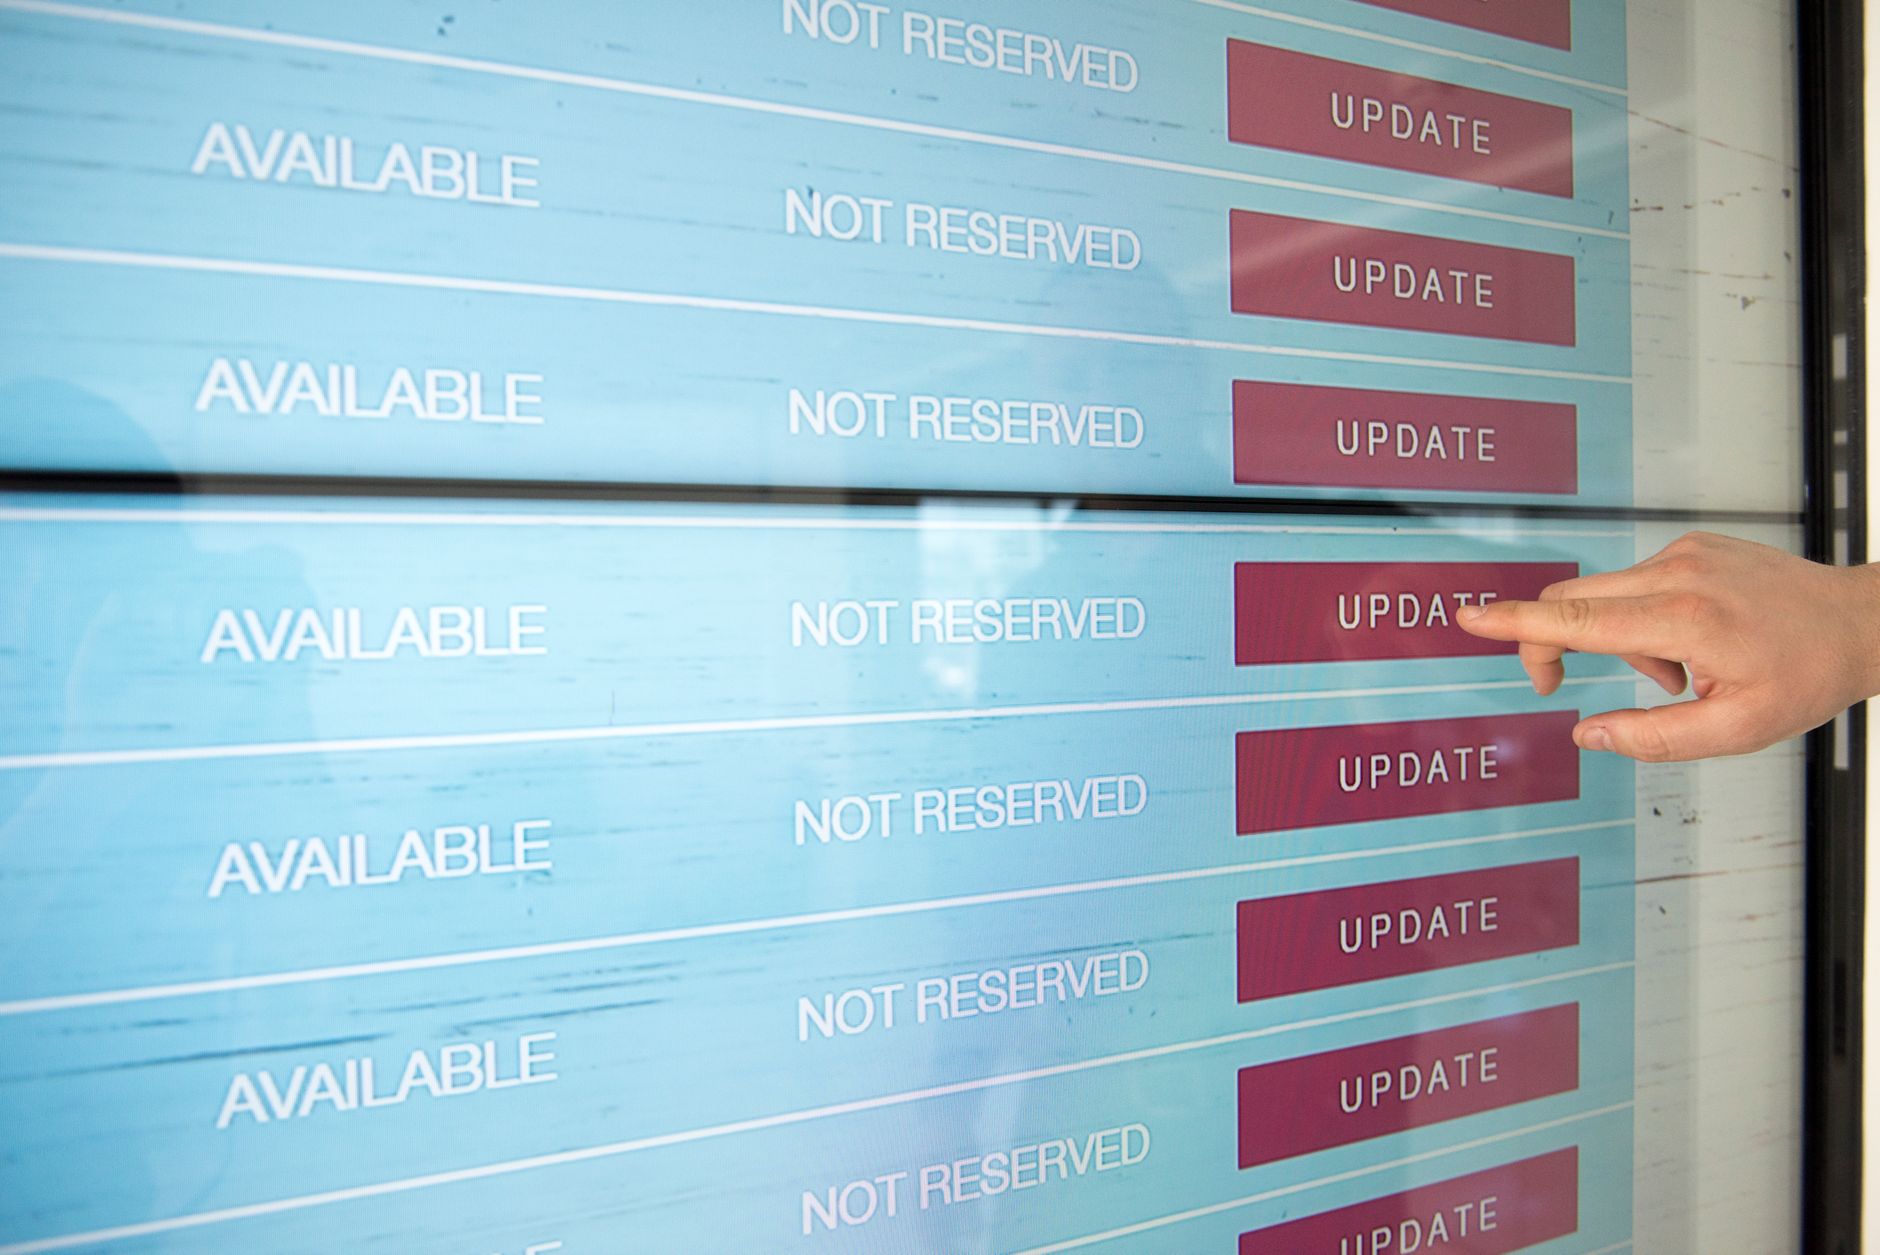
Previously in this course, we covered Building the Weather Service: Fetching and Extracting Data, where we successfully retrieved raw weather information from an API. Now, we need to take that data and make it visible to the user.
In this lesson, we will focus on DOM injection to transform that raw JSON into a functional UI design that looks great in your dashboard.
Why UI Feedback Matters
When you fetch data from an external source, there is always a delay. If you leave your interface static, the user might think the app is broken. By implementing loading states and dynamic updates, you ensure the user knows exactly what the application is doing at every stage of the request.
Creating the Weather UI Structure
Before we write any JavaScript, we need a target in our HTML to hold the data. In your index.html, add a container element:
HTMLstyle="color:#808080"><style="color:#4EC9B0">div id="weather-widget">
  style="color:#808080"><style="color:#4EC9B0">p id="weather-display">Click the button to see the weather.style="color:#808080"></style="color:#4EC9B0">p>
style="color:#808080"></style="color:#4EC9B0">div>
Implementing Dynamic DOM Injection
Once your script has the weather data (which we practiced in Introduction to State Management: Syncing Data with the DOM), you need a function to inject it into the page.
Here is a clean pattern for updating your UI:
JAVASCRIPTconst weatherDisplay = document.getElementById(CE9178">'weather-display');

function updateWeatherUI(data) {
  // Use template literals to construct the UI
  weatherDisplay.innerHTML = CE9178">`
    <div class="weather-card">
      <h3>Current Weather</h3>
      <p>Temperature: ${data.temp}°C</p>
      <p>Conditions: ${data.condition}</p>
    </div>
  `;
}

function showLoadingState() {
  weatherDisplay.innerText = "Loading current weather...";
}
The Workflow: From Request to Render
To put this all together, you should trigger the loading state before the fetch call and update the UI after the data arrives.
| State | Action |
|---|---|
| Idle | Show static prompt or previous data. |
| Loading | Clear container and display "Loading..." text or a spinner. |
| Success | Inject the formatted data into the container. |
| Error | Display a user-friendly failure message. |
Hands-on Exercise
Modify your existing weather project to include a simple "Loading" message.
- Create a
showLoading()function that changes theinnerTextof yourweather-displayelement. - In your main fetch function, call
showLoading()immediately before you initiate thefetch()request. - Once the promise resolves and you have the data, call
updateWeatherUI(data)to replace the loading message with the results.
Common Pitfalls
- InnerHTML Security: While
innerHTMLis convenient for injecting HTML strings, never use it to inject data directly from an untrusted user source to prevent XSS (Cross-Site Scripting). For simple text updates,innerTextortextContentis safer. - Forgetting to Clear: If your
updateWeatherUIfunction only appends content instead of replacing it, you’ll end up with a list of weather updates stacked on top of each other. Always ensure you are overwriting the previous state. - Flash of Unstyled Content: If your CSS isn't loaded before your JS, the UI might jump when the data is injected. Keep your styles in the
<head>and your scripts at the end of the<body>to prevent this.
FAQ
Q: Can I use CSS classes to handle the loading state?
A: Yes, and it's recommended. Instead of changing text, you can toggle a class on the parent container (e.g., weather-widget.classList.add('is-loading')) and use CSS to show or hide a spinner.
Q: How do I handle multiple pieces of weather data? A: Structure your data as an object and use template literals to map those properties into your HTML string, just as we did in the example above.
Recap
We've moved from raw data to a visual interface. By separating your "loading" logic from your "display" logic, you've created a more professional and responsive dashboard. You now know how to use DOM injection to keep your UI design reactive and user-friendly.
Up next: Error Handling for Requests.
Work with me

AI Automation & Agentic Workflow Development
Automate the repetitive work eating your time — content pipelines, data workflows, and agentic AI tasks that run themselves.
React & Next.js Dashboard / Admin UI Development
A clean, data-rich dashboard UI in React or Next.js — charts, tables, and real-time data that your users will actually enjoy using.