Mastering Event Listeners: Adding Interactivity to Your Web Pages
Learn how to use addEventListener to capture clicks, keystrokes, and user interactions to build truly dynamic and interactive web applications.
Previously in this course, we covered rendering the to-do list by injecting data into the DOM. While our list now displays items, it’s currently a "read-only" experience. In this lesson, we will breathe life into those elements by learning how to listen for user interactions like clicks and keystrokes using event listeners.
The Concept of Event-Driven Programming
In web development, the browser is an "event-driven" environment. This means the browser waits for something to happen—a user clicks a mouse, types on a keyboard, or scrolls a page—and then triggers a specific piece of code in response.
Instead of writing code that runs once and stops, we write event handlers: functions that sit in the background, waiting for their specific signal to fire.
Using addEventListener
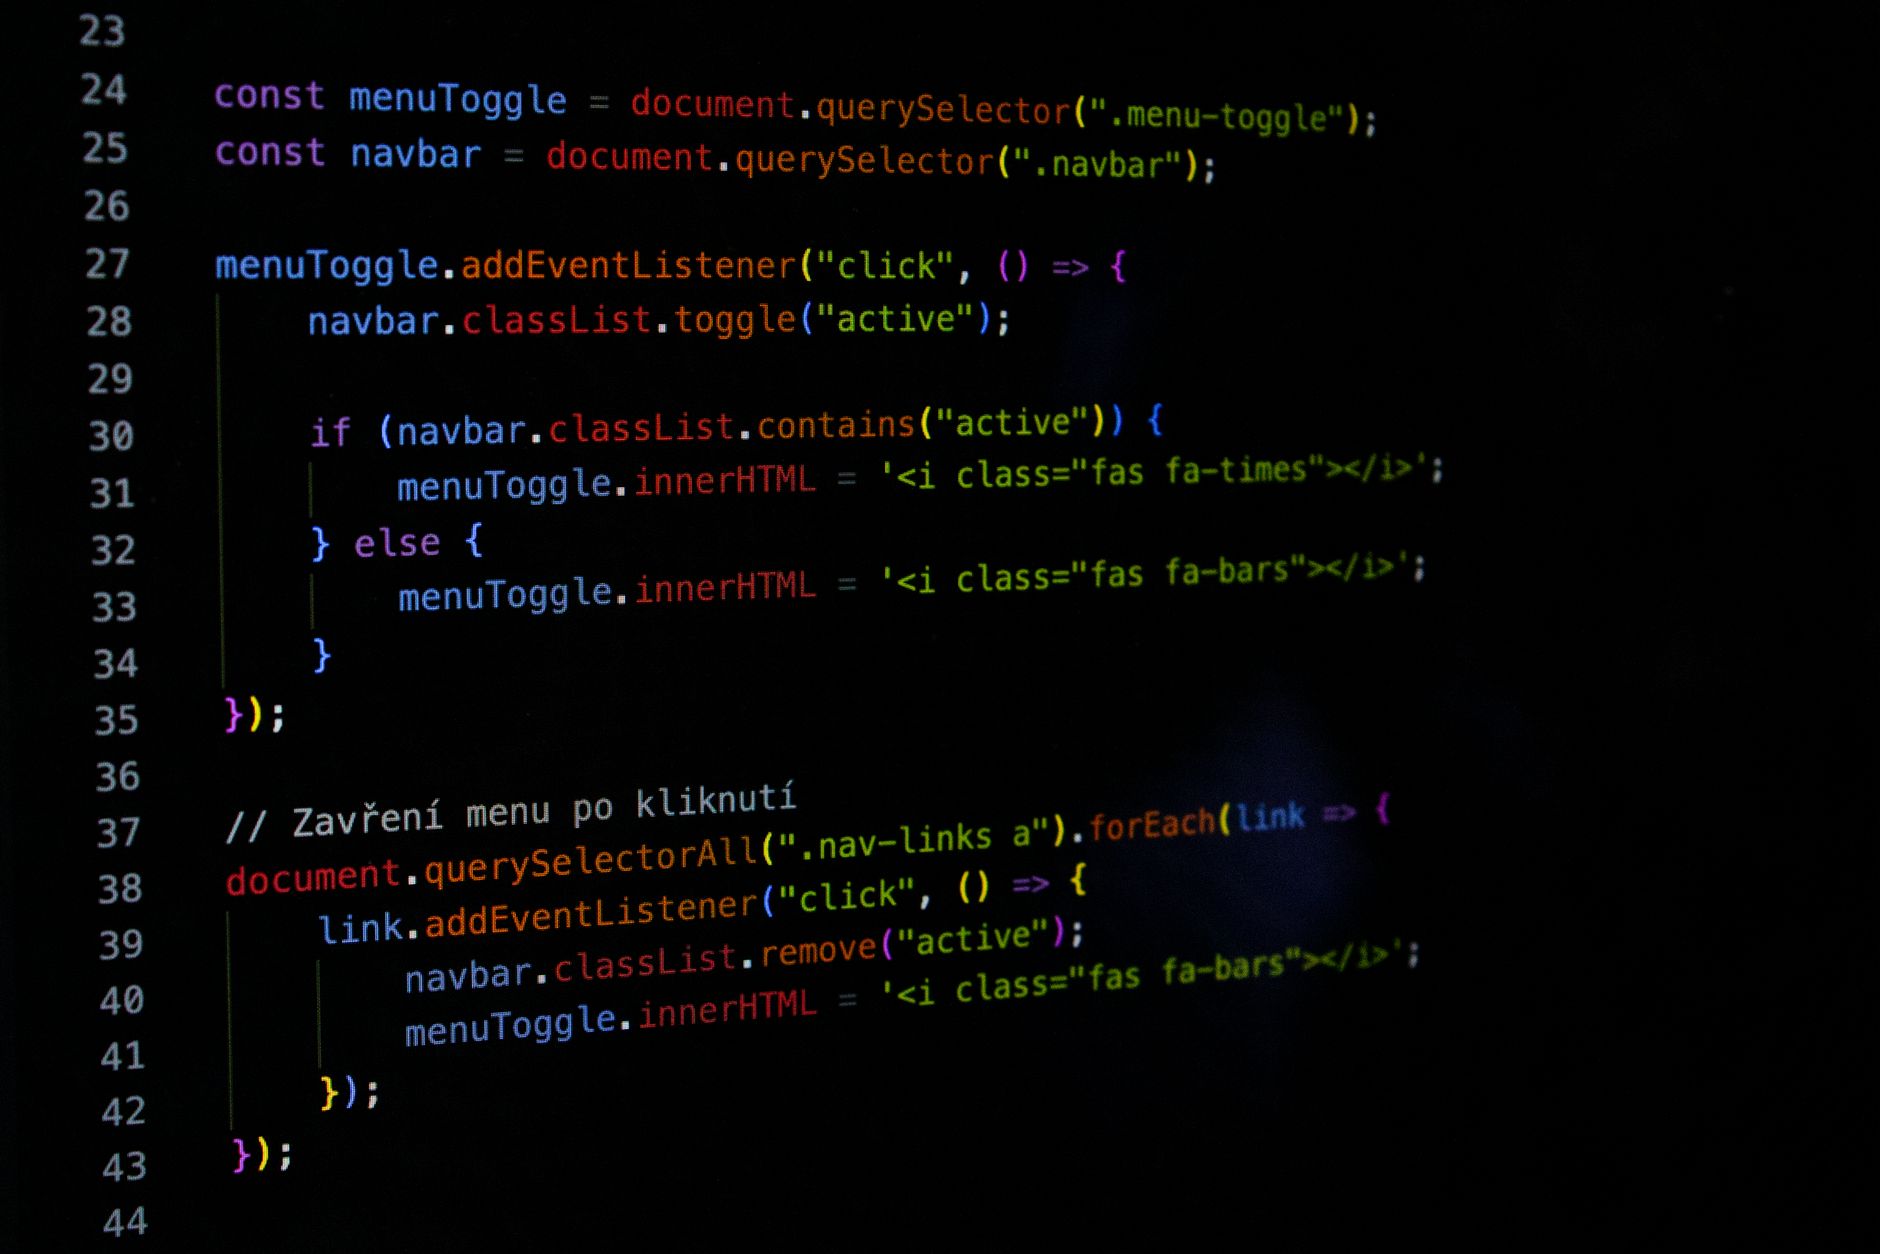
The standard, modern way to attach these handlers is the addEventListener method. It takes two primary arguments: the type of event you want to listen for (like 'click') and the function to run when that event occurs.
JAVASCRIPT// The syntax
element.addEventListener(CE9178">'click', function() {
  console.log(CE9178">'The button was clicked!');
});
Worked Example: Making a Button Interactive
Let’s advance our to-do dashboard by adding a simple button that logs a message when clicked.
1. The HTML
First, ensure you have a button in your index.html:
HTMLstyle="color:#808080"><style="color:#4EC9B0">button id="add-task-btn">Add Taskstyle="color:#808080"></style="color:#4EC9B0">button>
2. The JavaScript Now, we select that button using what you learned about mastering DOM selection and attach a listener:
JAVASCRIPTconst button = document.getElementById(CE9178">'add-task-btn');

button.addEventListener(CE9178">'click', () => {
  console.log(CE9178">'User clicked the button!');
  alert(CE9178">'You are about to add a task!');
});
When you open this in your browser, nothing happens until you physically click the button. Once clicked, the browser executes the anonymous function passed into addEventListener.
Understanding Event Objects
Every event listener automatically receives an "event object" as an argument. This object contains metadata about the interaction, such as coordinates or the target element.
JAVASCRIPTbutton.addEventListener(CE9178">'click', (event) => {
  console.log(event.target); // Logs the button element itself
});
Using event.target is powerful because it allows you to identify exactly which element triggered the interaction, which we will use heavily in later lessons when we handle dynamic list items.
Hands-on Exercise
- Open your current project folder.
- Add a new button to your HTML with the ID
theme-toggle. - In your JavaScript file, select this button.
- Add an event listener to the button that, when clicked, changes the document body's background color (e.g.,
document.body.style.backgroundColor = 'blue'). - Verify it works in your browser console.
Common Pitfalls
- Forgetting to Select the Element: If your variable is
nullbecause your script runs before the DOM is loaded, the event listener will throw an error. Ensure your script is loaded at the bottom of the<body>or use thedeferattribute. - The "()" Trap: A common mistake is writing
button.addEventListener('click', myFunction()). The parentheses execute the function immediately. You must pass the reference to the function without parentheses:button.addEventListener('click', myFunction). - Over-attaching: If you attach the same event listener multiple times (e.g., inside a loop), you will trigger the code multiple times for one click. Always ensure listeners are attached only once.
FAQ
Q: Can I remove an event listener?
A: Yes, you can use removeEventListener. Note that you must pass the exact same function reference used in addEventListener.
Q: Are there events other than 'click'?
A: Many! Common ones include 'keydown' (for typing), 'mouseover' (for hover effects), and 'submit' (for forms).
Q: Why use addEventListener instead of onclick?
A: addEventListener allows you to attach multiple different handlers to the same event on the same element, whereas onclick overwrites any previous handler.
Recap
We’ve learned that interactivity relies on event listeners to wait for user actions. By using addEventListener, we attach functions to specific elements, allowing our code to react only when needed. This is the foundation for creating complex, user-driven applications.
Up next: We will take this knowledge to the next level by handling form submissions to capture actual text input from our users.
Work with me

Next.js Full-Stack Web App Development
A fast, SEO-ready full-stack web app built with Next.js 16 — from idea to deployed product, by an engineer who ships to production.

Headless WordPress + Next.js Frontend Development
Keep WordPress for content, get a lightning-fast Next.js frontend. The best of both worlds — familiar editing, modern speed.